Want to make your pie dough flaky and perfect, every time? Check out my tips on how I make my pastry crust.
PASTRY CRUST TIPS
- Pastry loves to rest in the cold. In the fridge, the flour absorbs moisture, the fat gets a chance firm up again and the glutens relax, making it easier to roll. Thirty minutes is the absolute minimum resting time, but you may still encounter shrinkage when baked. The longer it rests the better. If time permits, I prefer to make my pastry the day before I need it.
- It is ok if your dough is more on the moist side than the dry. You have to roll it out on a floured surface anyway, and it is harder to roll out dry crumbly dough than moist.
- Do not be afraid to give the dough a light knead or press it together. Everyone warns against over kneading; yes, we don’t want the heat of our hands to melt all the fat, but we still need the dough to come together enough to roll out later. This is where a little practice comes into play. You want those streaks or pieces of fat marbled throughout the dough, and you want the dough to be able to be pressed together and form a ball. Do not worry if there are a few crumbs or dry bits.
- Adding the vanilla extract not only creates more flavour, but the alcohol helps as well. Gluten cannot form when mixed with alcohol, so this acts as a gluten inhibitor.
ZERO WASTE TIP: REUSE A CLEAN COTTON PILLOWCASE
This simple trick, passed on to me from pastry chef Laura White, makes rolling out pie dough easy. Dust a clean pillowcase with flour and use this to roll your pastry on. The flour gets into the weave of the fabric, avoiding an over-floured surface and preventing you from handling the pastry too much. All you have to do is rotate the pillowcase instead of the actual dough when you roll. Genius! I have a pillowcase tucked away in my kitchen drawer just for this purpose.
Perfect Flaky Pastry Dough
Equipment
- box grater
- rolling pin (or wine bottle will do)
Ingredients
- 2 1/2 cups AP flour
- 1 tsp salt
- 1 Tbsp zest of lemon, orange or lime optional
- 3 Tbsp sugar optional
- 1 cup cold unsalted butter
- 6 Tbsp ice cold water
- 1 Tbsp Pure vanilla extract
Instructions
- In a large bowl, whisk flour with the salt and any optional flavourings.
- The easiest way to make pastry is to coarsely grate the cold fat into the flour. Simple—no food processor,stand mixer, pastry blender or knives. Use your box grater to coarsely grate butter and lard. Add to flour mix and fold in with fingers, coating grated fat with flour.
- Measure out the ice-cold water and mix in vanilla
- Add 5 Tbsp (75 mL) water-vanilla mixture to the pas-try and mix with hands until the dough starts to come together, adding more cold liquid if needed.
- Transfer dough to a clean surface and give it a good quick knead until the dough comes together enough to form 2 round discs. Wrap each disc in 2 layers of plastic wrap. Store in the fridge and let rest at least 30 mins, preferably overnight, before rolling.
- Lightly dust surface and a rolling pin with flour. Have a pie plate nearby and roll out the pastry to fit the pie plate. Any overhang can be trimmed or tucked underafter. Roll away from you and from the centre out. Rotate your pastry as you roll and flip over a few times to make sure the bottom doesn’t stick, dusting with more flour if necessary. If you totally screw up, gather and press pastry together to form a ball, wrap in plastic wrap and let rest again in the fridge for at least 30 minutes before rolling.
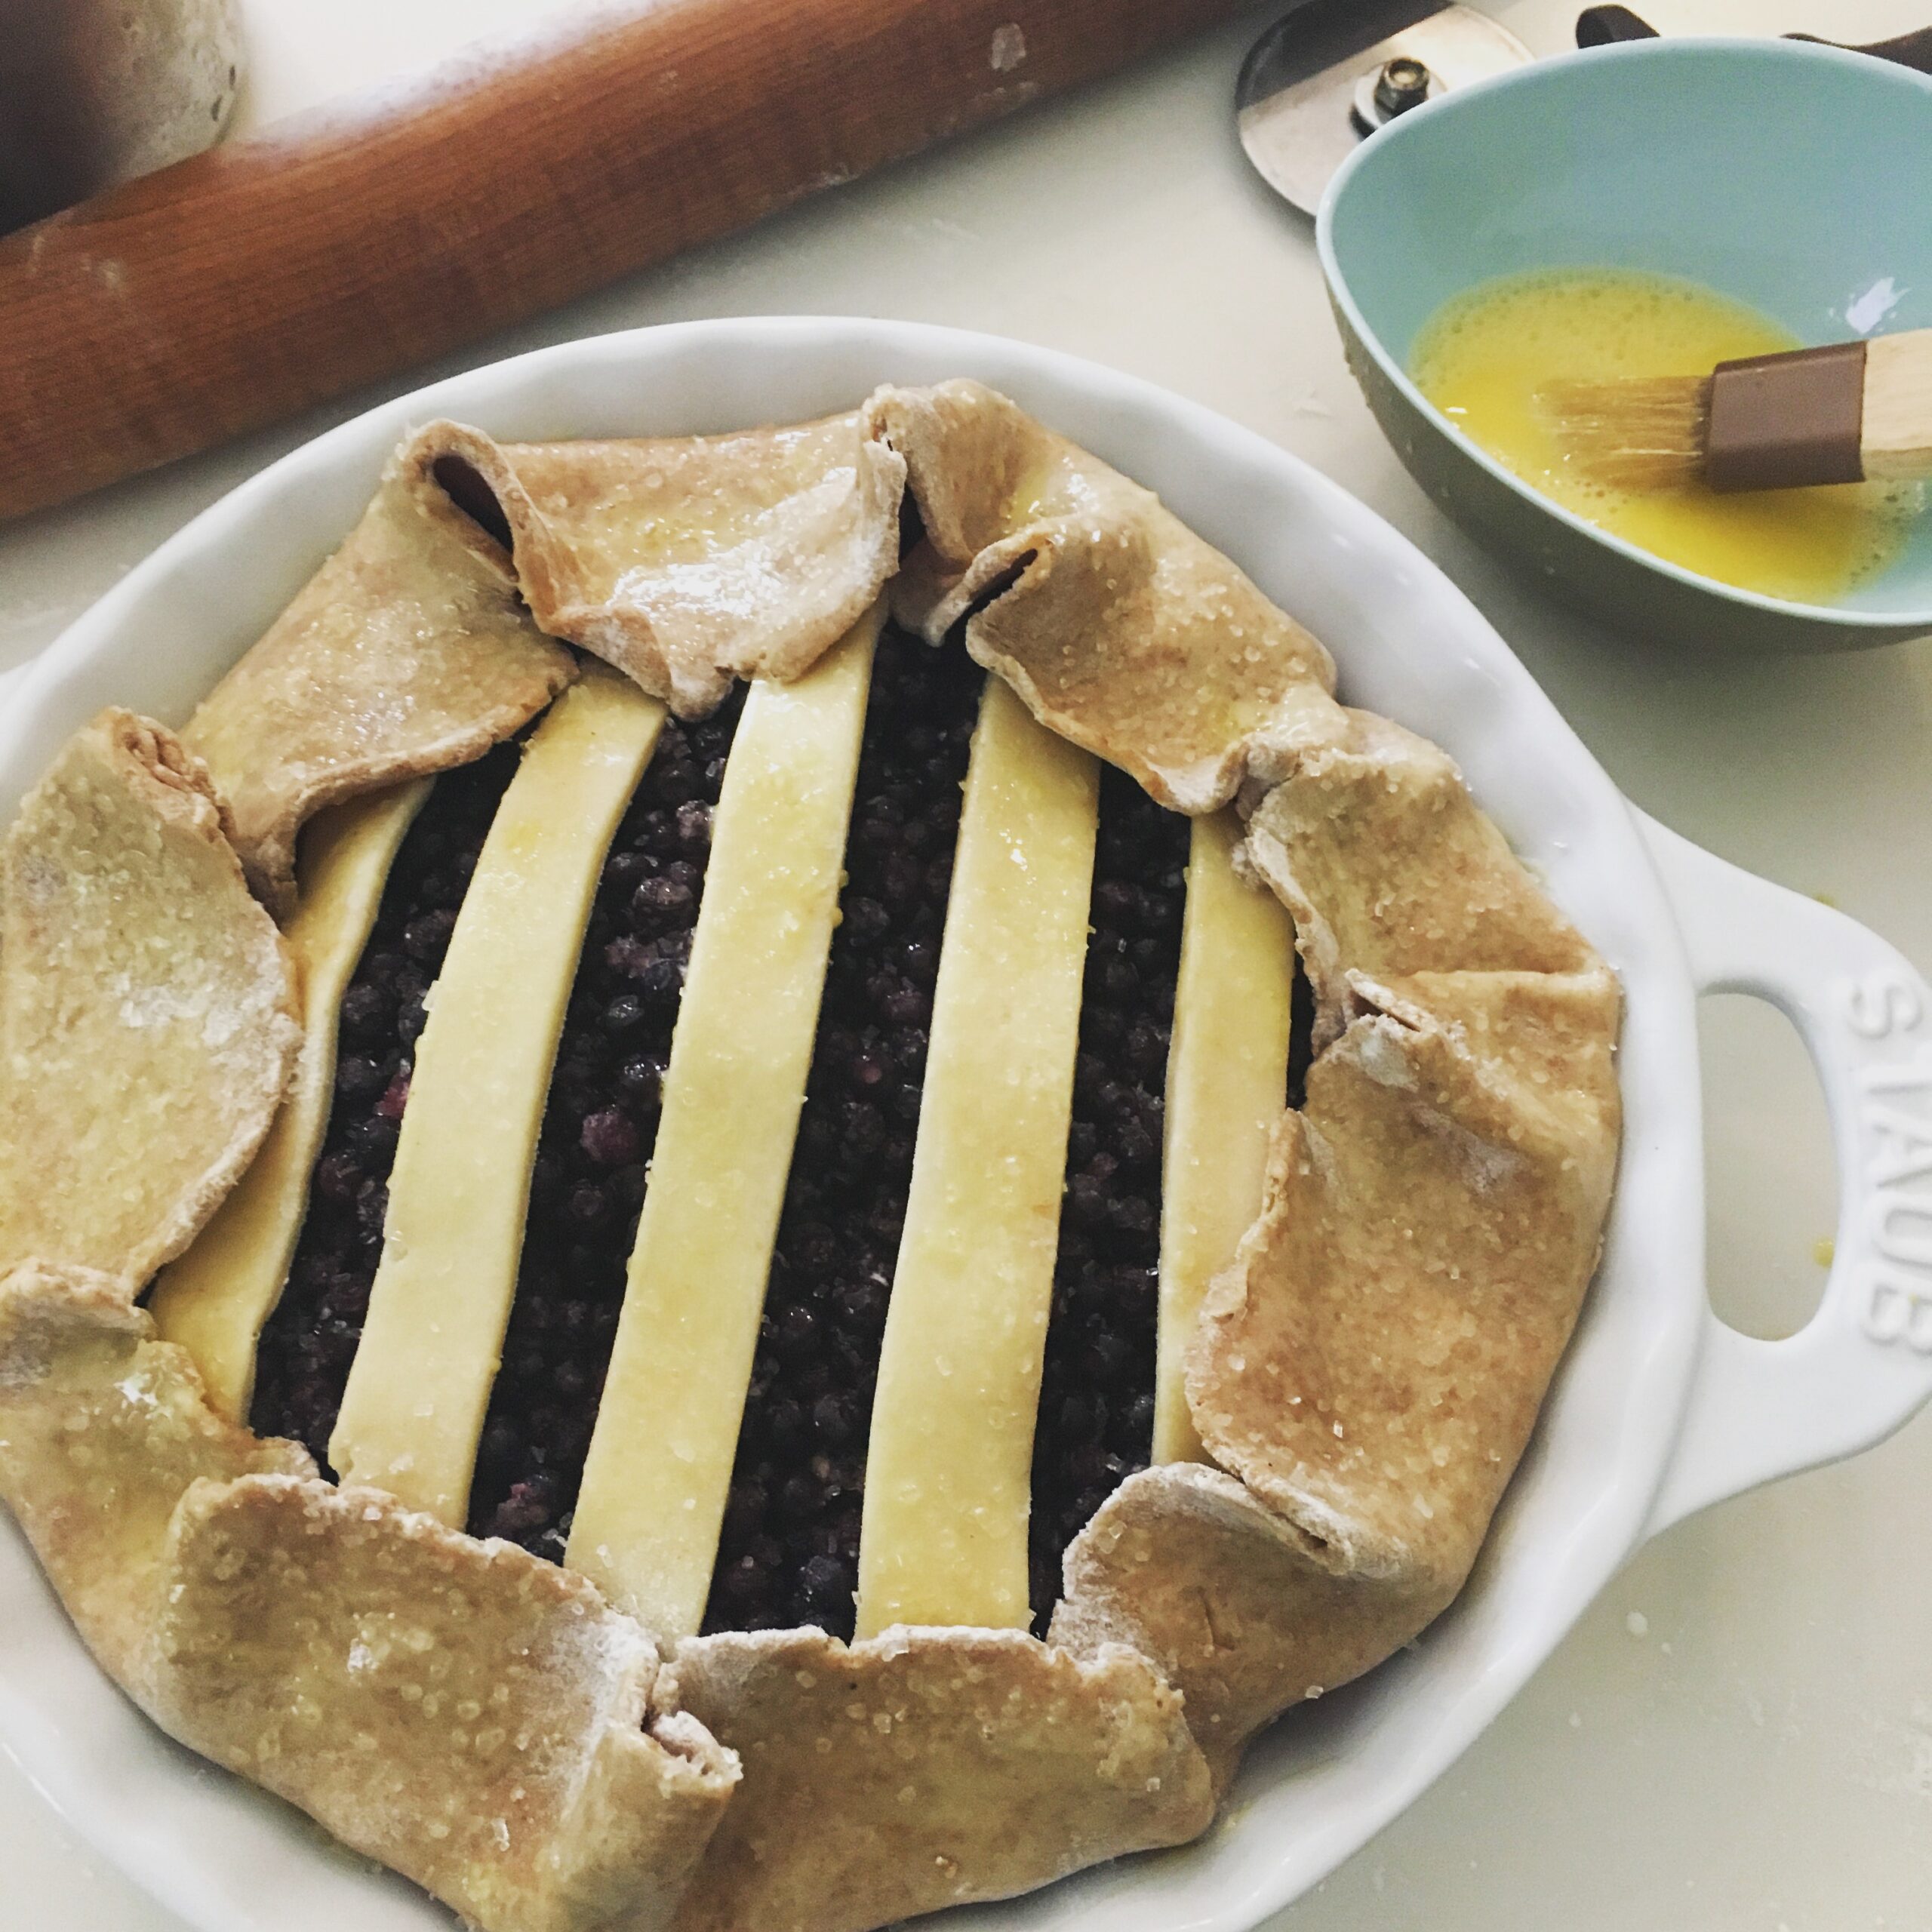
- Transfer pastry to pie plate by gently rolling the dough around the rolling pin, lifting and rolling it out overtop of the pie plate. Trim with kitchen shears or tuck overhang under and crimp. If making double pie crust, Fill pie with prepared filling then layer over pie crust, vent if necessary, and crimp to side of bottom crust. Brush with egg wash for a nice golden color.
Notes
- Pastry loves to rest in the cold. In the fridge, the flour absorbs moisture, the fat gets a chance firm up again and the glutens relax, making it easier to roll. Thirty minutes is the absolute minimum resting time, but you may still encounter shrinkage when baked. The longer it rests the better. If time permits, I prefer to make my pastry the day before I need it.
- It’s ok if your dough is more on the moist side than the dry. You have to roll it out on a floured surface any- way, and it’s harder to roll out dry crumbly dough than moist.
Love my perfect flaky pie dough tips? Be sure to check out my other baking tips, and follow me on Facebook and Instagram for more up-to-date ideas.